
No need to edit the XML of your PowerPoint document.
Our tool simplifies the process, ensuring your presentations maintain a professional and cohesive appearance. Unlike other methods that require editing the XML files within PowerPoint’s theme settings, which can be complicated and cumbersome, our solution is code-less, user-friendly, and efficient.
In this short tutorial, we will guide you through the steps to use our tool, helping you customize your PowerPoint fonts seamlessly. By using our tool, you can save time, reduce frustration, and ensure that your PowerPoint slides look consistent and professional.
Customize PowerPoint Heading and Body Fonts on Mac in 8 Simple Steps
Step 1: Open your presentation and copy the names of the current Heading and Body fonts exactly as they are written in the dropdown to a text editor (such as Notes). It is important that you write them exactly as they are, for example, “Calibri Light“.
Step 2: With your Notes file still open, look for the names of the fonts you want to change the Heading and Body fonts TO and copy those to your text editor.
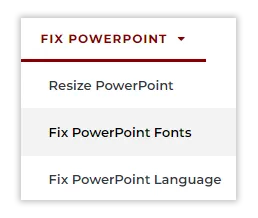
Step 3: Go to knockoutprezo.com/fix-powerpoint-fonts or select the tool from the website: Fix PowerPoint > Fix PowerPoint Fonts
Step 4: Click on the “Browse File” button.
Step 5: Upload your PowerPoint file.
Step 6: Copy the name of the ‘old’ font into the “Old Font Name” field and copy the name of the ‘new’ font into the “New Font Name” field.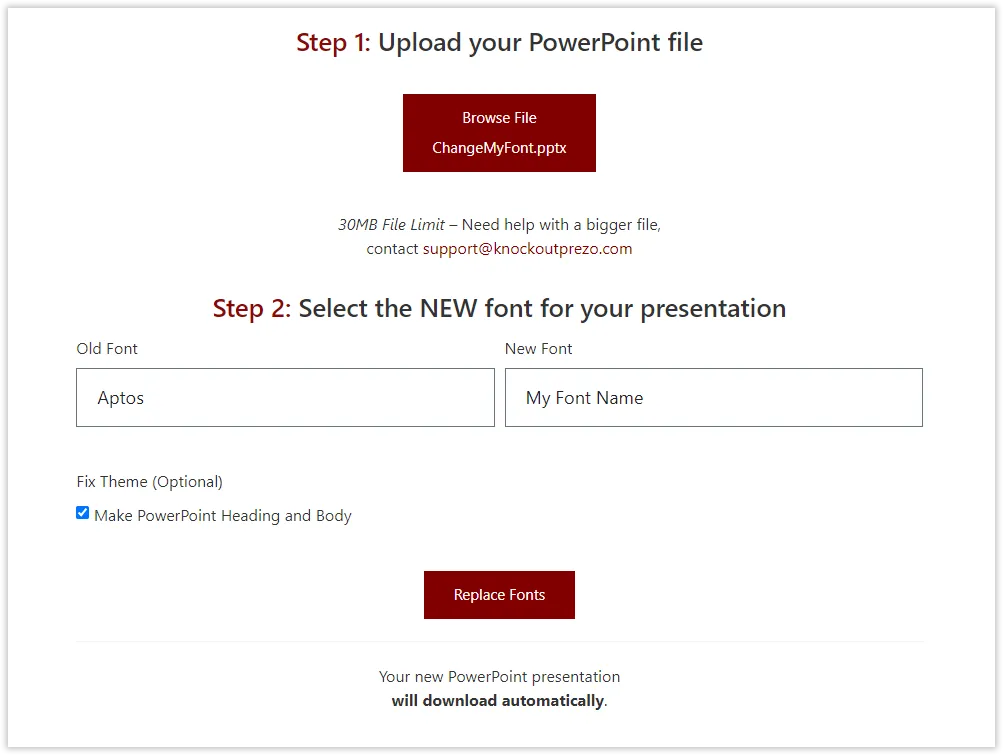
Step 7: Check the “Make PowerPoint Heading and Body” checkbox.
Step 8: Click on the “Replace Fonts” button. Your new PowerPoint presentation with updated fonts will download automatically.
By following these simple steps, you can ensure that your PowerPoint presentations on Mac have consistent, professional fonts. Our tool is designed to make this process easy and efficient, saving you time and effort while enhancing the quality of your presentations.
Hope this helped, if you have any questions please let us know.
Alternative Solution: Editing PowerPoint XML
If for some reason – this solution does not work for you, you might need to resort to editing the XML directly. Here is a good guide on how to do that from our website: How to Search and Replace All the Fonts in Your PowerPoint in a Few Minutes. Just follow steps 1-4.
For more detailed information about changing the XML of your PowerPoint presentations, you can refer to the OOXML Hacking legend John Korchok, who shares more details: XML Hacking: Font Themes Complete.