Not all presentations are prepared and set-up correctly. Either the Master Layout slides and the Theme are not used to its full potential, or they are discarded altogether. Something that would ordinarily take a few seconds to fix – with PowerPoint Masters could take an entire morning because someone in the team decided it is going to be quicker to make edits on-the-fly.
When common-sense and calm finally returns, the deck is a complete mess and fixing it could often mean a complete re-do.
Well, you will be happy to know, there is a little hack to fix all the font woes that will save you hours of work.
In essence – it is as simple as searching and replacing the fonts in your deck.
Before you start – this is what you will need:
- The list of fonts that you don’t want.
It is essential to include the bold, thin black, etc. variations of your typeface. - The list of fonts that you want to use instead.
- An HTML or text editor to search and replace your fonts, in this tutorial I am using Adobe Dreamweaver, but you can use whatever you prefer. Even Notepad will work.
- This only works on modern PowerPoint files, if you have an old PowerPoint doc with a PPT extension, you must have it re-saved as a PPTX.
Before you go any further we should point out that we developed a tool that does everything mentioned in this tutorial for you. If you want – you can simply go to our FREE tool and let us take care of all this complicated font replacing mumbo-jumbo for . Read More
Step 1 – Backup
Make a copy of your PowerPoint document; if anything goes wrong, you don’t want to lose the original document.
Step 2 – Create Zip
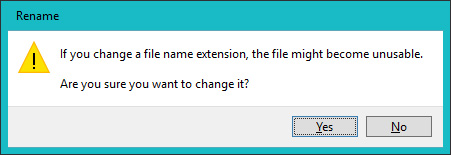
Rename the PPTX to ZIP and ignore the warnings
Many people don’t know this, but a PPTX file is an XML file (Extensible Markup Language), this means it can be extracted and edited in a text editor.

Step 3 – Unzip
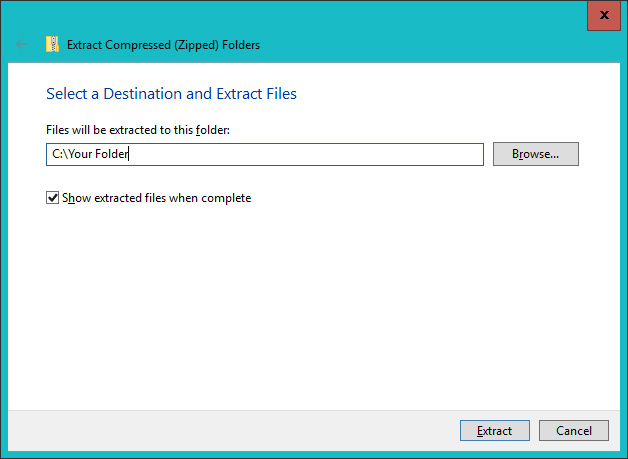
Decompress the Zip document. You can use the default suggested folder and keep “Show extracted files when complete” checked so that it opens that folder upon completion.
Step 4 – Dreamweaver – Set up a new site
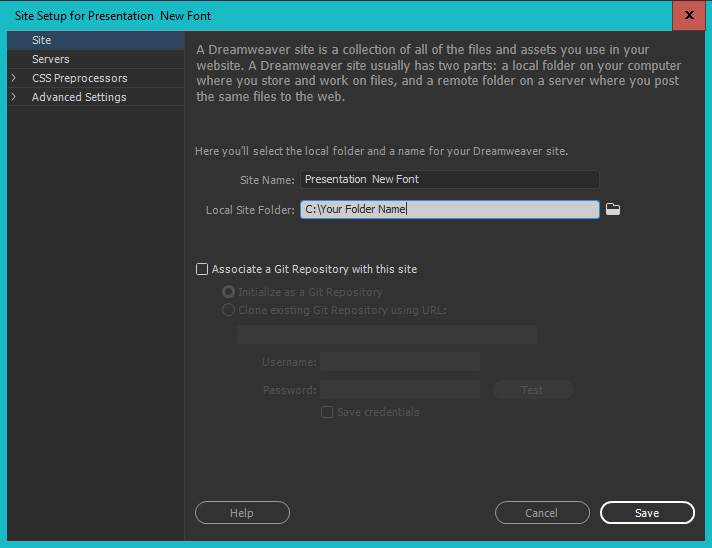
Click on Site > New Site – from the top menu, make the presentation name your “Site Name” and select the “Local Site Folder” where you unzipped the PPTX to, and select Save to continue.
Step 5 – Open Search and Replace
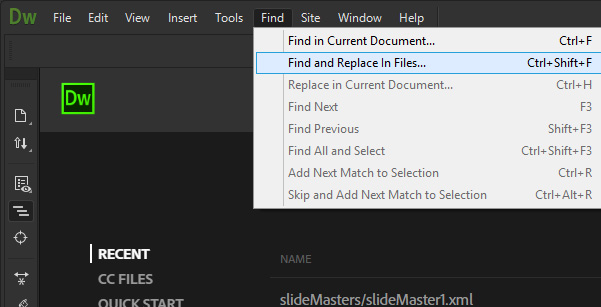
Click on Find > Find and Replace In Files
Step 6 – Search and Replace
In the Find field, please enter the name of the font you want to replace and in the Replace field, enter the name of the new font you want to replace the old one with.
It is crucial that you don’t add extra spaces at the end of your font name. Otherwise, it might not find a match or worse, corrupt your document.
Select the “Replace All” button
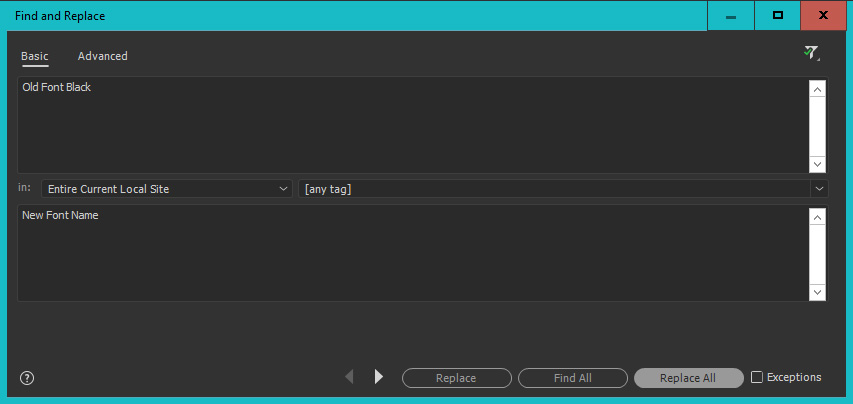
You should receive a warning saying the operation can not be undone, you can ignore the error since we do have a backup in the form of our newly created ZIP file if anything goes wrong.
Dreamweaver will go through all the documents and replace the fonts, and it will show you how many times it replaced the font in the Search output window.
Step 7 – Repeat
Repeat step 6 for every font you want to replace
Step 8 – Compress folder and file
Important: This step is often done incorrectly – which leads to the PPTX being unreadable by PowerPoint so please make sure that you follow this step accurately.
Navigate your way in Explorer (or Finder on Mac) to the folder where your files and folders are. Select all the files and folders, Right click and select Send To > Compressed (zipped) folder.
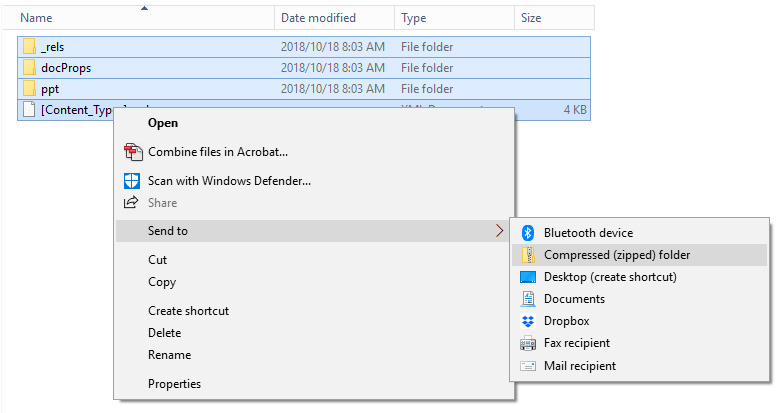
The WRONG way to do this; is to compress just the main folder; this will confuse PowerPoint since none of the files will be in its expected location. It is important that you DON’T compress just the folder, you have to go into the folder and compress all the files and folders.
Step 9 – Rename the file name and extension to .PPTX
The final step is to rename the ZIP extension to PPTX. If there are no issues, your PowerPoint file should open without any problems and voila, like magic all your fonts will be replaced.

This entire exercise should not take longer than about 15 minutes.
Issues:
If you run into problems:
- Make sure you Zipped(Compressed) the exposed folders and not the root folder as stated above
- Make sure you didn’t add an extra space at the end of your font names – it would either cause not to find a match or could have removed an important space.
If you do run into problems, my suggestion is to delete the folder and start again, don’t try to fiddle around too much in Dreamweaver.
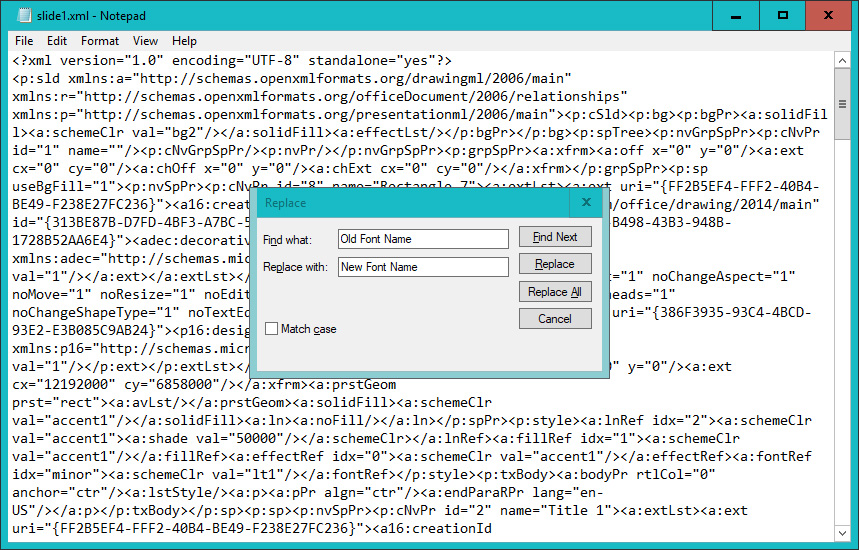
If you don’t have access to Adobe Dreamweaver, you can also use Visual Studio or Atom. Even good old trusty Notepad works, it is a little more work because you will need to do a Search and Replace for every file, but this is still going to be much quicker than doing it in PowerPoint. Below is a screenshot of what it looks like in Notepad.
We made a tool that makes this easier for you!
If this tutorial is too long and complicated for you then you will be glad to know we created a FREE online tool that does all of this converting, searching, and replacing fonts for you!
Simply go to https://knockoutprezo.com/change-powerpoint-fonts/.


